Automatic Checkerboard Corner Detection and Data Processing Tool
Traditional camera calibration methods compute camera intrinsic parameters from a set of target features with known geometries. The most common target is a checkerboard. Calibration usually requires users to select corners and areas on the checkerboard images manually. The manual process has several problems:
- Time-consuming. Users must manually click four corners on each checkerboard image to define the region of interest. When there are multiple images, this process is very time-consuming.
- Prone to error. The corner detection relies on the accuracy of the user's clicking which is prone to error.
- The difficulty for stereo camera calibration. Using the dual camera as an example, stereo camera calibration needs to find the correspondence area between the left and right camera images. Users either have to keep both cameras containing the full checkerboard image, or count and align the same corners for both left and right images manually. This process is tedious and time-consuming.
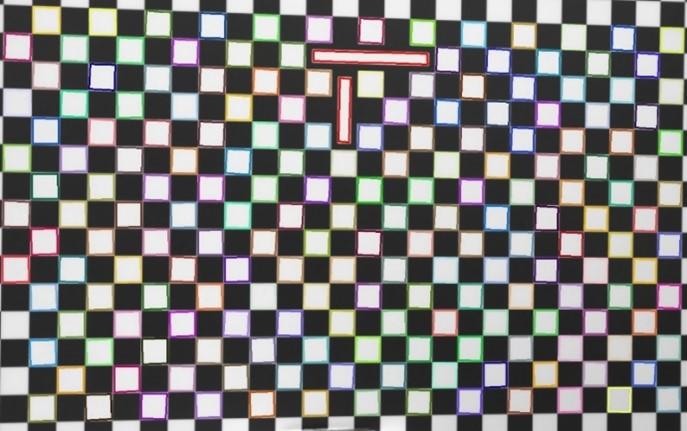
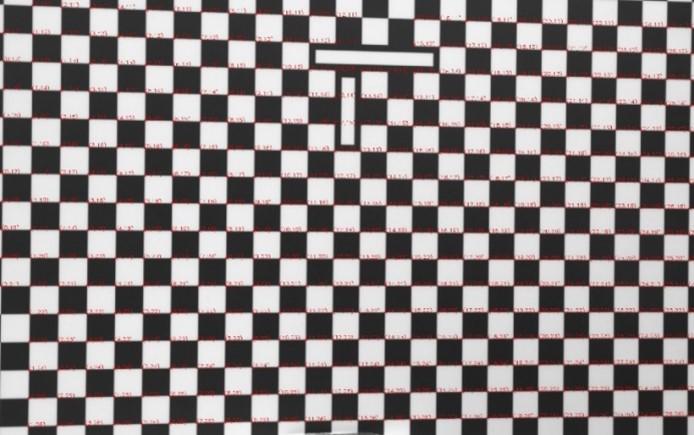
A method and tool for automatic camera calibration were developed. This method has advantages: 1) it doesn’t involve the user clicking to define the region of interest, which eliminates the error and accuracy problems from human operation; 2) Images are processed automatically in batch, eliminating the time-consuming manual data processes; 3) improved the accuracy by developing

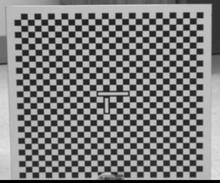
advanced algorithms in the checker-board corner detection, thus improved the vision-based system’s accuracy; 4) Enabled the creation of user-defined markers for auto data processing. The key to the automatic method is to enable auto-counting and auto-alignment. As shown in Fig. 1, the calibration board has two long rectangle makers in the center. The special markers are utilized as the indicator of the checkboard’s orientation and the center position. If the marker features are correctly detected, any corner in the image can find the correspondence to the center. Users may customize their markers on their checkerboard, for example, by adding extra dots or special shapes as indicators. This tool can help to improve the accuracy and efficiency in vision-based system calibration, where cameras and vision-based systems are widely used in machine vision, robot guidance, inspection, and health condition monitoring for industrial applications.
Related Publications
Sample Screenshots


Contact
For more information, contact:
-
(301) 975-2865

