Summary
Measurements of radiometric and photometric quantities such as irradiance, [W m-2], require defining apertures with known area. An optical coordinate measuring machine is used to accurately measure the areas of radiometric apertures, which, in turn, enables the measurement of radiometric quantities with leading measurement uncertainties.
Description
Aperture area measurements are performed at NIST’s aperture area measurement facility, which combines a precise interferometric motion stage with high-resolution optical microscopy.
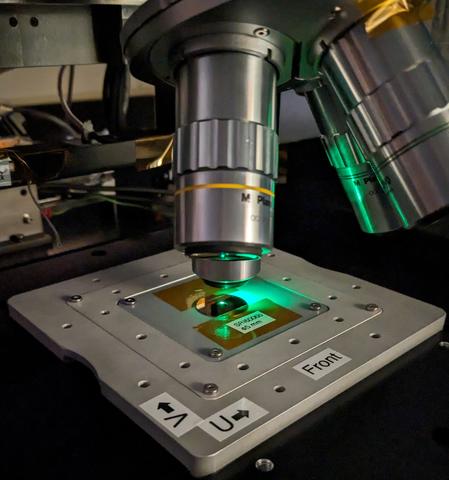
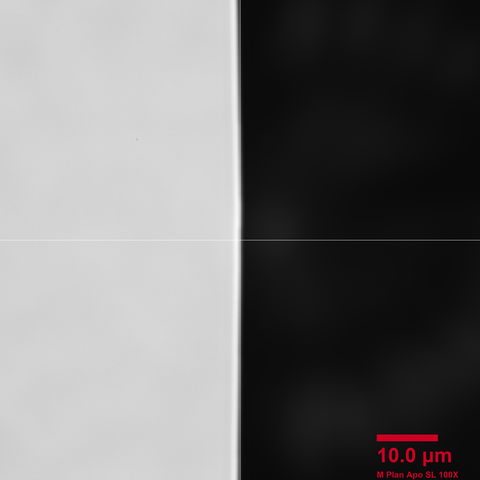
This non-contact method is especially well suited for the measurement of defining apertures with knife edges that are often used in radiometry, or for micromachined apertures (e.g. NIST SRI6006, seen in the top image mounted on the motion stage. The bottom image shows the aperture edge in transmitted light at 100X magnification.) made from thin silicon membranes, which are quite fragile. Precisely calibrated apertures are needed for a wide range of radiometric applications.
Aperture area measurements made by this NIST facility are directly traceable to the meter of the SI (International System of Units). While our aperture area measurements primarily supports internal and external radiometry efforts, the measurement system can also be used to calibrate optical transfer standards such as reticles and calibration targets for the calibration of imaging systems.
NIST has participated in an international intercomparison sponsored by the Consultative Committee on Photometry and Radiometry (CCPR) of the methods for aperture area measurements used by different measurement laboratories. Each of the nine participating laboratories measured eight different apertures with varying diameter, fabrication method, material, and edge type. For more information about this intercomparison, see Final report on the CCPR-S2 supplementary comparison of area measurements of apertures for radiometry.
The aperture area measurement instrument is being improved continuously through technical upgrades and improvements in software algorithms to extend its application range and to further reduce the measurement uncertainty.


Special Services
We measure circular apertures routinely in the diameter range from 0.2 mm to 50 mm. Apertures with non-circular shapes and rectangular apertures (slits) can also be measured but may require additional effort. Measurements are offered as a calibration service Special Test 39200S.
Major Accomplishments
- Pilot laboratory for the Consultative Committee for Photometry and Radiometry (CCPR) international interlaboratory comparison of the International Committee for Weights and Measures (CIPM).
- Pilot laboratory for the international comparison of aperture areas used in exo-atmospheric solar irradiance measurements sponsored by the National Aeronautics and Space Administration (NASA).
- Provided measurements for many internal and external collaborators and customers.

